 There’s no better way to really get a feel for what it’s like to be an Interior Designer than by jumping in and getting your hands on a project.
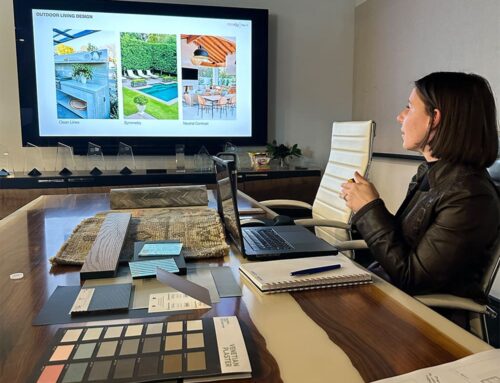
In supporting budding designers, Marta Mitchell Interiors routinely has interns from local universities. These interns learn valuable skills from our team of designers
Our most recent intern, Brittany Stowe, a senior from the UNCG Interior Architecture Program, just finished up her internship with us. So we thought we’d pick her brain about what it was like working on a real world interior design project, away from the books, study and academia.
Here’s what she had to say:
“When you’re just starting out as an intern, things can be a bit overwhelming and more than a little frightening. But here are a few tips I picked up that are always good to keep in mind.
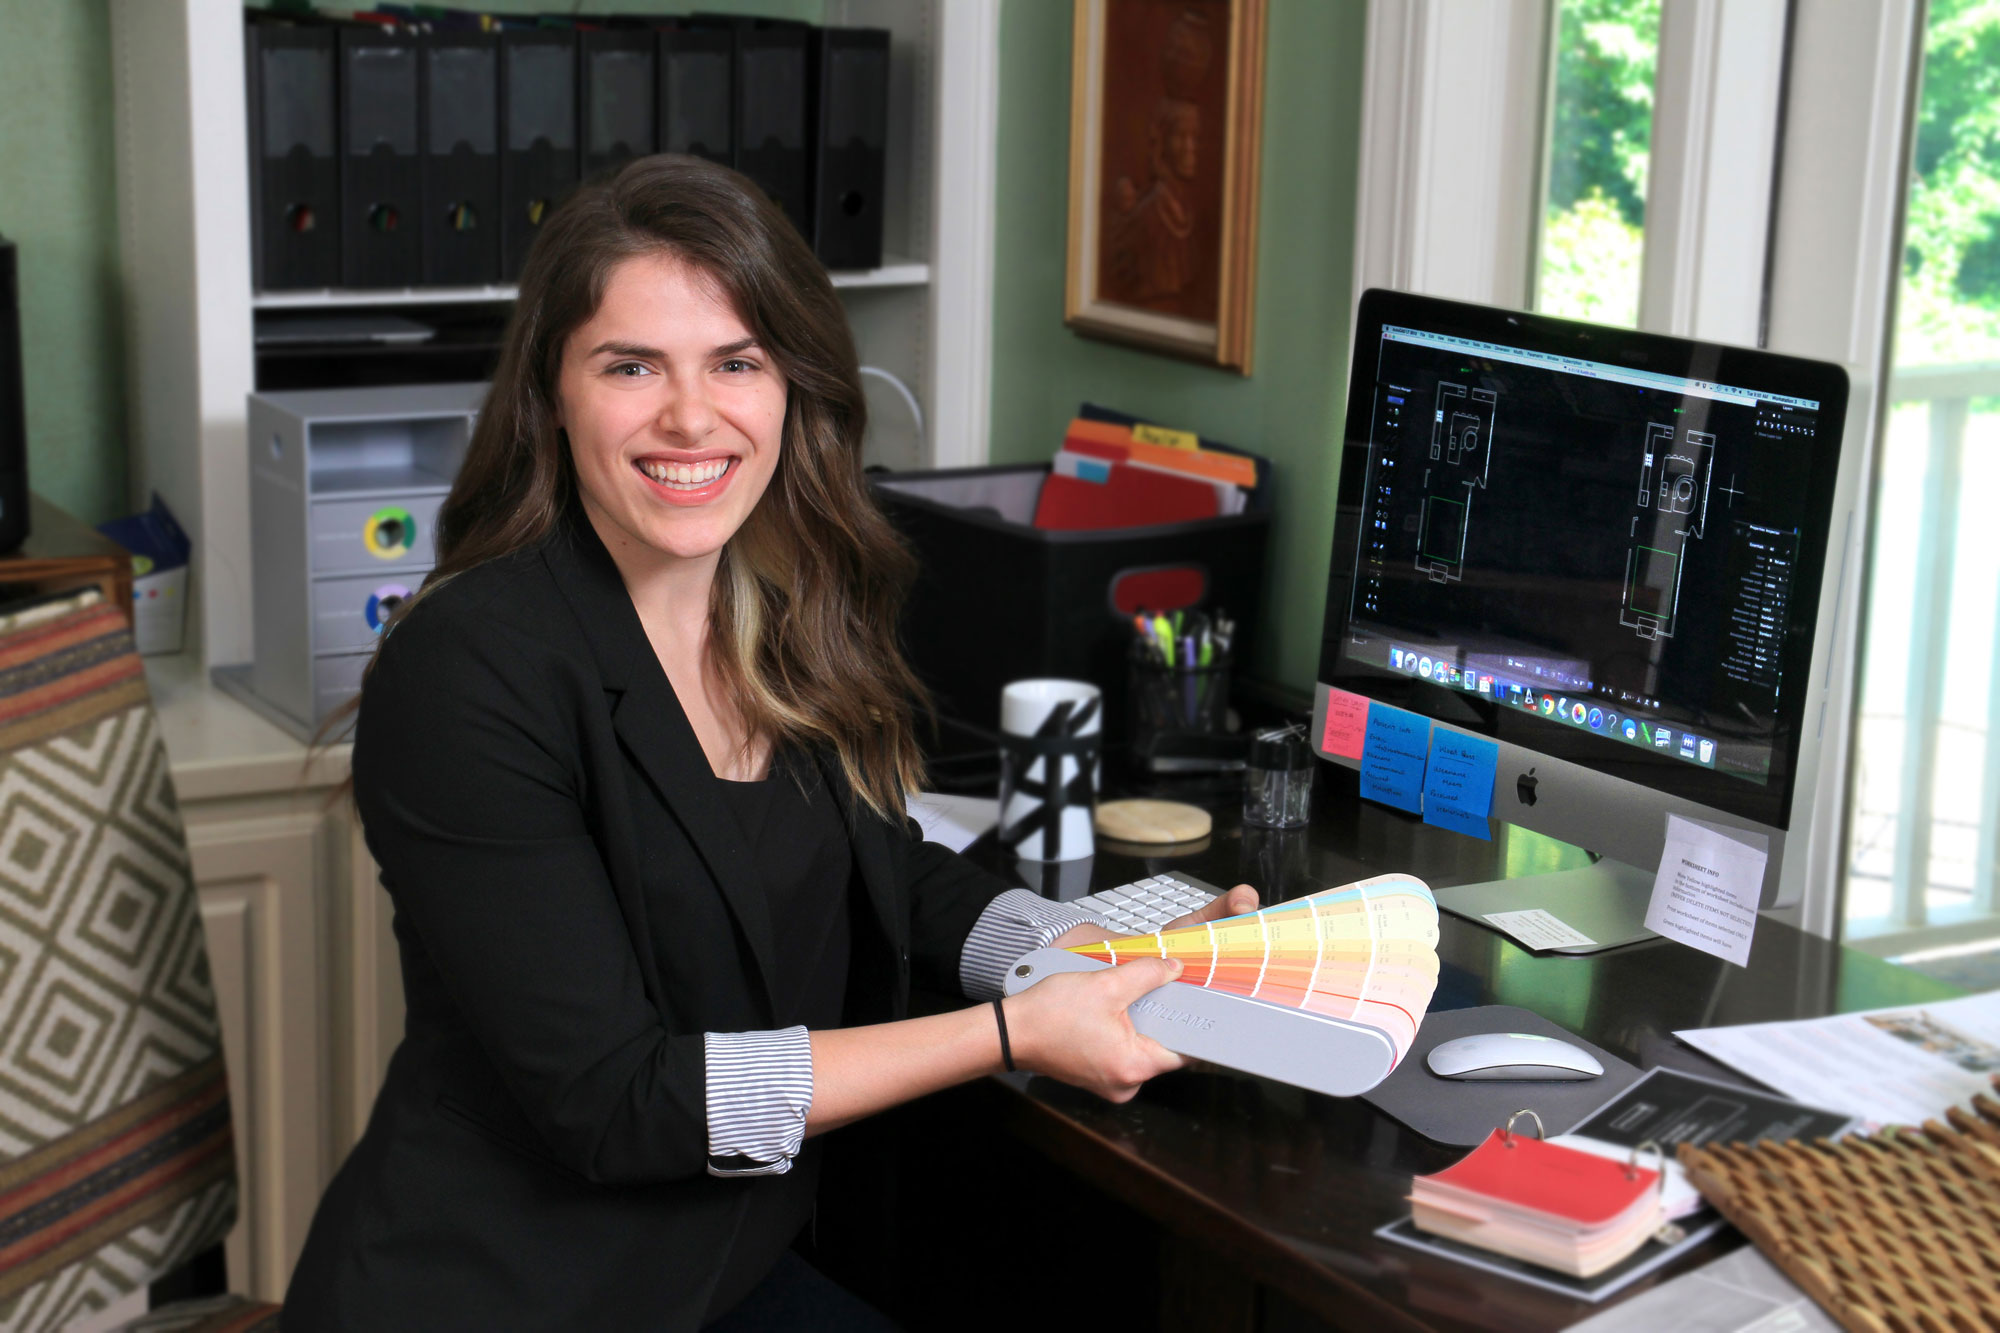
- Pen and paper are your best friends!
- Always have them on hand and easily accessible.
- Be sure to use them! Write down everything, and I mean everything.
- EVERYTHING.
- Quick sketches, diagrams, lists and especially dimensions—Everything!
(Have you written this all down?)
Having everything written down or diagrammed can save you from unnecessary questions. You don’t want to be at a furniture showroom and guessing whether or not the gorgeous side-table that goes perfectly with your design fits into your client’s alcove or not. Or trying to decide whether when they mentioned bright yellow it was to say it’s the color they love the most or the one they hate with a passion.
Additionally, to do lists will keep you on track, focused, and help you to use your time wisely. You can identify the tasks that can be done together or figure out which tasks will need to be done early in the project and which aren’t an immediate priority. You’ll save yourself a ton of time and avoid the risk of forgetting any details.
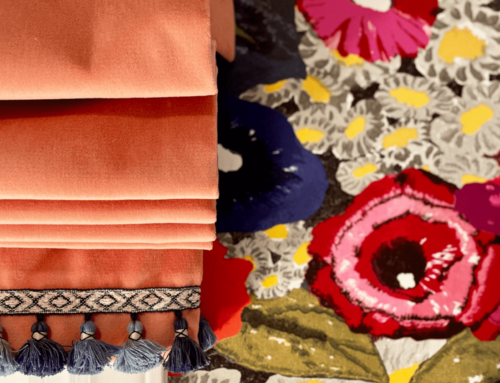
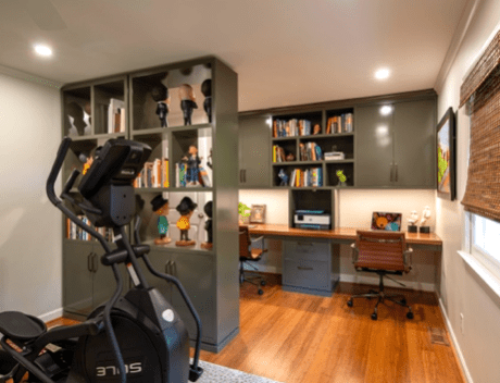
When working on bathrooms, it’s the little details that are the ones that really go the extra mile. It’s one thing to simply write down ‘bathroom cabinets—brown wood’ and draw yourself a little rectangle in your room mock up; it’s another thing entirely to give yourself some details to work with.
As you can see below, the details outlined in my notes are easily translated to SketchUp where I now have a greater sense of the depth given to the cabinet and drawers; the alignment of the mirrors, faucets, sinks and doors; and to the details of the countertops.


Here is another example of how quick sketches and diagrams will help in the long run:


My diagrams may seem fairly rudimentary; however, I’ve made sure to note important details such as measurements and notes about the materials to be used. Once the Master Bath has been rendered you can see even more details such as the placement of the showerhead accessories; the countertop and cabinet details; and how the glass door hinges from the wall. This 3D rendering gives us a feeling of depth and lets us envision how the room is going to come together. However, without the notes I took on site this would be impossible.My diagrams may seem fairly rudimentary; however, I’ve made sure to note important details such as measurements and notes about the materials to be used. Once the Master Bath has been rendered you can see even more details such as the placement of the showerhead accessories; the countertop and cabinet details; and how the glass door hinges from the wall. This 3D rendering gives us a feeling of depth and lets us envision how the room is going to come together. However, without the notes I took on site this would be impossible.
Notes, diagrams and sketches are key for helping you remember little details and keeping you on track. It’s also important to keep them easily accessible even after you’ve finished the project so that when another project arises with similar elements you’ll be able to look back on your previous notes, draw inspiration from them, and build upon what worked and what could be improved. But no matter which project you’re working on, it’s important to remember sometimes the most important tools are the simplest!